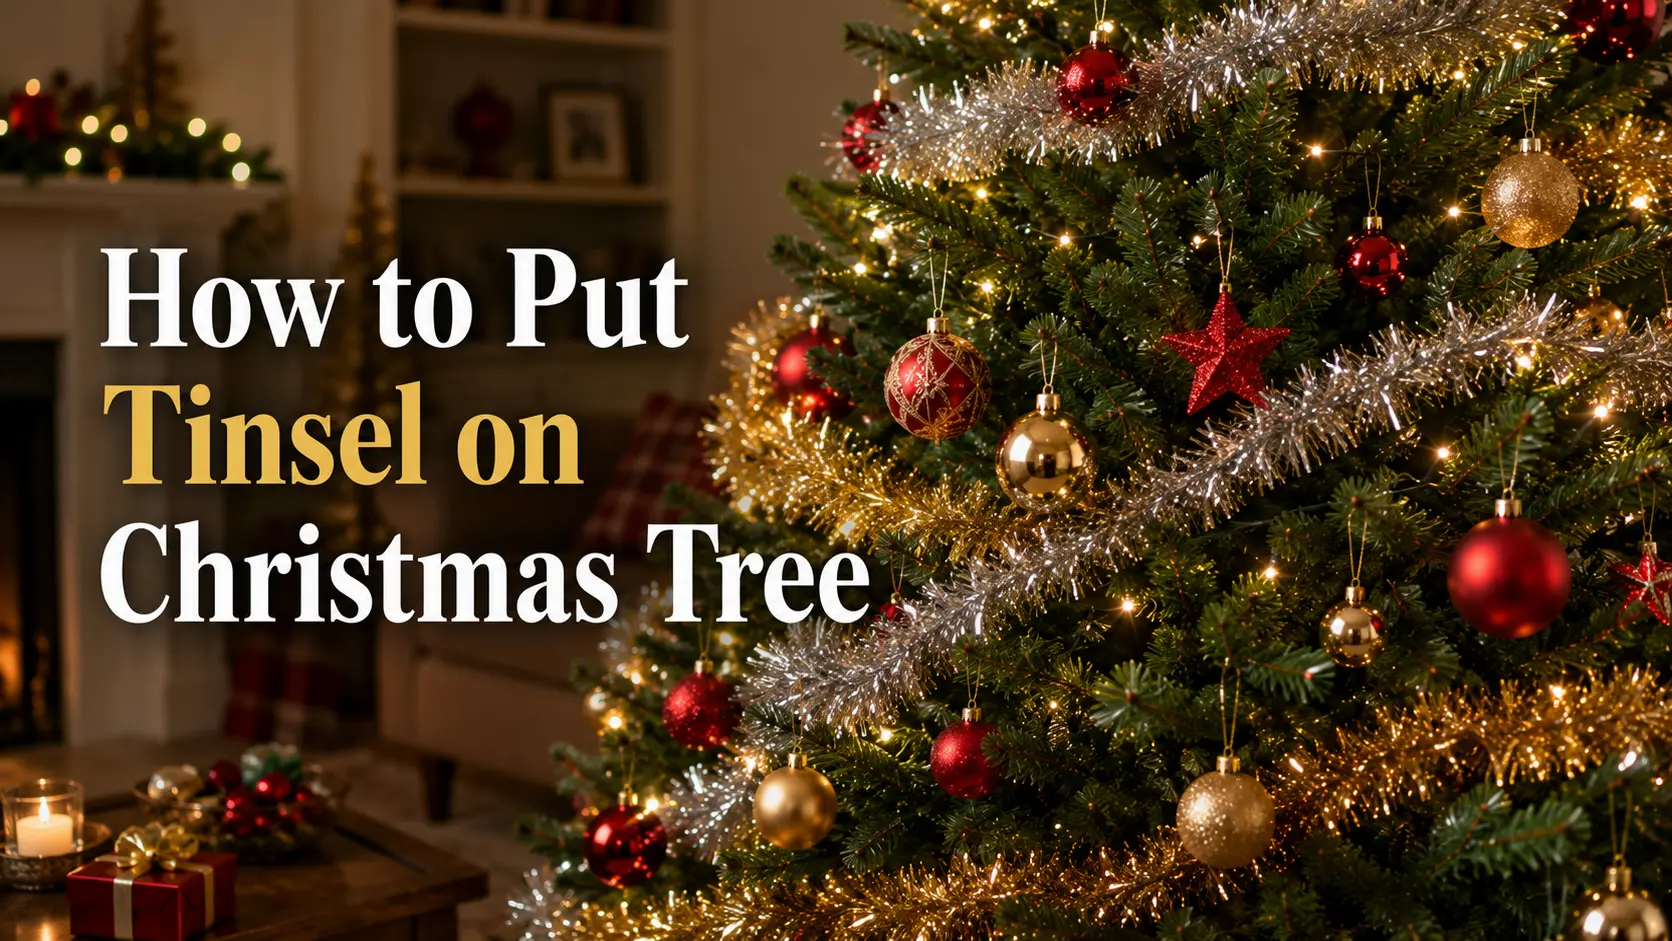

Tinsel has a reputation problem. For decades it was the stuff you flung at a tree by the handful, leaving silver strands tangled in the carpet until February. But used correctly, tinsel is still one of the fastest, most affordable ways to make a Christmas tree shimmer and come alive under the lights. The difference between a tree that looks cluttered and one that looks elegant almost always comes down to placement, not quantity.
This guide walks you through exactly how to put tinsel on a Christmas tree the right way, in the correct decorating order, with the right amount for your tree size. You will learn the difference between the various types of tinsel, how professionals layer it so it catches light instead of overwhelming the branches, which mistakes ruin the look, and how to adapt your approach for slim trees, flocked trees, and luxury displays. For more decorating guides and tree-buying advice across the season, you can always explore the rest of MyChristmasTrees.online.
By the end, you will know how much tinsel to buy, when to add it, and how to make it look intentional rather than accidental.
How Do You Put Tinsel on a Christmas Tree?
Tinsel goes on as one of the final decorating steps, after the structure of the tree is already built. Here is the short version.
Quick Summary
- Fluff the tree so the branches are full and spread out.
- Add the lights and let them define the glow of the tree.
- Add garland or ribbon to create flowing lines.
- Hang your ornaments and balance them by size and color.
- Add tinsel last, draping or laying it in small, even sections.
- Distribute it evenly and resist the urge to overload the branches.
- Finish with the tree topper and skirt.
The golden rule: less is more. A few well-placed strands that reflect the lights will always look more polished than a tree buried under silver.
The reason tinsel goes near the end is simple. It is the accent layer. If you add it too early, your lights, ribbon, and ornaments end up sitting on top of it and the tinsel loses its reflective sparkle. Save it for the moment the tree is nearly finished, and use it to fill gaps and catch light.
What Is Christmas Tree Tinsel?
Tinsel is a decorative material made of thin, shimmering strands or strips designed to reflect light and add sparkle to a Christmas tree. Today it comes in many forms, but its history stretches back further than most people realize.
The earliest tinsel appeared in Germany around the early 1600s, where it was originally made from real shredded silver. Craftsmen hammered the metal into wafer-thin strips that hung from tree branches and caught the flicker of candlelight. Because genuine silver tarnished quickly and was expensive, manufacturers eventually experimented with other metals, then with aluminum and lead foil, and finally with the lightweight plastic film (usually PVC or Mylar) that makes up nearly all tinsel sold today.
It helps to understand how tinsel differs from the other stringy decorations you might add to a tree.
- Tinsel refers to the loose, shimmering strands or thin metallic icicle strips that drape over branches and reflect light. It is light, flexible, and primarily about sparkle.
- Garland is a continuous rope or strand, often thicker and more substantial, used to create sweeping horizontal or spiral lines around the tree. Tinsel garland is one overlap point between the two categories.
- Bead strands are rigid or semi-rigid strings of beads (plastic, glass, or wood) that add structured, repeating texture rather than soft shimmer.
- Ribbon is a wide fabric or wired material used for bold, sculptural loops and cascades, giving the tree volume and movement rather than reflective sparkle.
Knowing these distinctions matters because many decorators reach for “tinsel” when they actually want the structured look of garland or ribbon. The strand you choose changes the entire feel of the tree.
Should Tinsel Go On First or Last?
Tinsel should go on last, or very close to it. This is one of the most common questions decorators have, and the answer is rooted in how each decorating layer interacts with the others.
Here is the ideal decorating order that professional decorators follow:
- Fluff the tree so branches are open and full.
- Lights to build the foundational glow.
- Ribbon or garland for flowing structural lines.
- Picks and floral stems to add depth and texture.
- Ornaments to provide color, weight, and focal points.
- Tinsel to fill gaps and add sparkle.
- Tree topper to crown the design.
- Tree skirt to finish the base.
The logic behind this sequence is layering. Each step builds on the one before it. Lights need to sit deep in the tree, close to the trunk, so the glow radiates outward through every layer added on top. Ribbon and garland establish the movement of the design. Ornaments provide the visual anchors your eye lands on. Tinsel comes last because it is the finishing accent. If you drape it before the ornaments, the ornaments will partially cover it and you lose the reflective effect. Add it after, and the tinsel weaves between everything already in place, catching the light and softening any empty spots.
There is one practical exception. If you are using heavy, structured tinsel garland as a primary design element rather than a finishing touch, you may add it earlier, right after the lights, treating it like regular garland. But for loose icicle tinsel and shimmer strands, last is always best.
Different Types of Christmas Tree Tinsel
Not all tinsel is the same, and choosing the right type for your tree makes a noticeable difference. Here is a breakdown of the main options.
Classic Metallic Tinsel
The traditional shredded-strand tinsel most people picture. It is sold in loose bundles of thin metallic strips, usually silver or gold, and is draped or laid over branches. It delivers maximum sparkle for the lowest cost but can look messy if overused. Best for nostalgic, retro, and vintage-style trees.
Icicle Tinsel
Longer, individual strands designed to hang straight down like icicles. This is the type that creates a cascading, frozen effect. It works beautifully on trees lit with cool white lights and suits winter wonderland or Scandinavian themes. It requires patience because the best look comes from hanging strands a few at a time.
Wide Tinsel Garland
A thicker, rope-style tinsel that functions more like garland. It wraps around the tree in spirals or swags and provides bold, continuous shimmer. Excellent for larger trees that can carry the visual weight, and for decorators who want fast coverage.
Beaded Garland
Technically a garland rather than true tinsel, but frequently used in its place for a more refined, structured sparkle. Strands of metallic, pearl, or crystal-look beads add a polished, upscale texture. Ideal for elegant and luxury trees where loose tinsel would look too casual.
Foil Tinsel
Made from reflective foil strips that are slightly stiffer and shinier than classic tinsel. It holds its shape better and resists tangling, making it a good middle ground between loose strands and structured garland. Suits modern and metallic-themed trees.
Color-Matched Tinsel
Tinsel produced in specific colors (rose gold, deep red, emerald, blush, midnight blue) to coordinate with a chosen palette. Rather than competing with your ornaments, it reinforces a cohesive theme. Best when you already have a defined color scheme.
Tinsel Type Comparison Table
| Tinsel Type | Look | Best For | Skill Level | Tangle Risk |
|---|---|---|---|---|
| Classic Metallic | Loose, sparkly, nostalgic | Retro and vintage trees | Easy | High |
| Icicle | Cascading, frozen | Winter and Scandinavian | Moderate | Medium |
| Wide Garland | Bold, continuous shimmer | Large traditional trees | Easy | Low |
| Beaded Garland | Structured, refined | Luxury and elegant trees | Easy | Very low |
| Foil | Crisp, modern shine | Modern and metallic themes | Easy | Low |
| Color-Matched | Coordinated, themed | Defined color palettes | Easy | Medium |
For most people decorating a standard family tree, foil tinsel or wide tinsel garland offers the best balance of sparkle, ease, and a tidy result. Classic loose tinsel delivers the most nostalgic look but demands the most restraint to keep from overwhelming the tree.
How to Put Tinsel on a Christmas Tree Step by Step
Here is the full walkthrough, with practical advice at every stage. Follow this order and your tree will look layered and intentional.
Step 1: Prepare the Tree
Set the tree in its final position before you decorate. Moving a fully decorated tree is how ornaments get knocked off and tinsel gets crushed. Make sure the stand is stable and the tree is straight. If it is an artificial tree, connect all sections and check that the center pole is locked. If it is a real tree, give it a day to settle and let the branches relax and drop into their natural shape.
Step 2: Fluff the Branches
This step is non-negotiable for artificial trees, and it is the one people skip most often. Bend each branch tip outward and separate the individual sprigs so the tree looks full rather than flat and wiry. Start at the bottom and work up, fluffing the inner branches as well as the outer ones. A properly fluffed tree gives the tinsel something to rest on and hides the gaps. If you want a deeper walkthrough, see the guide on how to fluff an artificial Christmas tree, and for techniques that maximize density, the tips on how to decorate a Christmas tree to look full are worth reviewing before you add a single light.
Step 3: Install the Lights
Lights go on first among the decorations because they form the glow that everything else reflects. Work from the inside out, wrapping strands close to the trunk and then bringing them toward the branch tips. Use the trunk-wrapping method on the vertical pole, then weave out and back along each branch. This buries the light deep in the tree and creates dimension rather than a flat ring of bulbs on the surface. The way your lights are placed has a direct effect on how your tinsel will sparkle later, which we cover in detail further down.
Step 4: Add Ribbon or Garland
Now establish the flowing lines. Ribbon and garland create the sweeping movement that guides the eye around the tree. You can wrap them in a spiral from top to bottom, tuck them in loose vertical cascades, or create gentle swags. Add these before ornaments so the ornaments can be placed to complement the ribbon’s path. If you are using wide tinsel garland as a structural element, this is the stage to add it.
Step 5: Hang the Ornaments
Distribute ornaments by size, weight, and color. Place the largest ornaments first, tucking some deeper into the tree to create depth, and save smaller ones for the outer tips. Spread colors evenly so no single area feels crowded or bare. Step back frequently to check the balance. Leave a little breathing room between ornaments, because that space is exactly where your tinsel will go.
Step 6: Add Tinsel Evenly
This is the main event. Work in small sections rather than dumping handfuls. For loose tinsel, take a few strands at a time and lay them gently over the branches, letting them drape downward. For icicle tinsel, hang individual strands so they fall straight. For tinsel garland, drape it in the same direction as your ribbon to reinforce the flow. Move around the entire tree as you go so coverage stays even on all sides, including the back if the tree is visible from multiple angles. The goal is to fill the gaps between ornaments and catch the light, not to coat the branches.
Step 7: Step Back and Balance the Look
Walk to the other side of the room and look at the tree as a whole. Squint slightly. This blurs the detail and reveals whether the sparkle is evenly distributed or clumped in one area. Move tinsel from heavy spots to bare ones. Check the tree from sitting height as well as standing, since that is how guests will often see it. Make small adjustments until the shimmer feels balanced top to bottom and side to side.
Vertical vs Horizontal Tinsel
How you orient your tinsel dramatically changes the tree’s personality. There are three main approaches.
Vertical strands hang straight down from the branches, mimicking icicles. This creates a tall, elegant, cascading effect that emphasizes height. It is the most refined option and pairs beautifully with cool white lights.
Spiral wrapping winds tinsel garland around the tree in a continuous diagonal line, echoing the spiral of your ribbon. This adds movement and energy and works well on full, traditional trees.
Loose draping lays tinsel horizontally across the branch tips so it rests in soft, irregular folds. This is the classic, casual, nostalgic look. It is forgiving and fast but can tip into messy if you use too much.
Vertical vs Horizontal Tinsel Comparison
| Method | Effect | Advantages | Disadvantages | Best Style |
|---|---|---|---|---|
| Vertical strands | Cascading, icicle-like | Elegant, emphasizes height | Slow to apply | Winter, Scandinavian, luxury |
| Spiral wrapping | Flowing diagonal movement | Cohesive, ties ribbon together | Needs garland-style tinsel | Traditional, full trees |
| Loose draping | Casual, soft sparkle | Fast, forgiving, nostalgic | Can look messy if overdone | Retro, family, vintage |
For a polished result, vertical strands give the most upscale finish. For a warm, traditional family tree, a light hand with loose draping captures the nostalgic feel without the clutter.
How Much Tinsel Do You Need?
The most common mistake is buying and using far too much. Tinsel is an accent, and a little goes a long way. Use these amounts as a starting point, leaning toward the lower end for a refined look and the higher end for a fuller, more dramatic sparkle.
| Tree Height | Loose Tinsel (approx. strands/bundles) | Tinsel Garland Length |
|---|---|---|
| 4 ft | 1 small bundle | 15 to 20 ft |
| 5 ft | 1 to 2 bundles | 20 to 25 ft |
| 6 ft | 2 bundles | 25 to 30 ft |
| 7 ft | 2 to 3 bundles | 30 to 38 ft |
| 7.5 ft | 3 bundles | 35 to 40 ft |
| 8 ft | 3 to 4 bundles | 40 to 50 ft |
| 9 ft | 4 bundles | 50 to 60 ft |
| 10 ft | 4 to 5 bundles | 60 to 75 ft |
Remember that these are ceilings, not targets. It is far easier to add a few more strands than to dig handfuls of tinsel back out from between your ornaments. Start with about two thirds of the recommended amount, step back, and add more only where the tree looks bare. The trees that look best almost always use less tinsel than their owners initially expect.
Decorating Different Tree Styles With Tinsel
The same tinsel technique does not suit every tree. Here is how to adapt your approach.
Traditional Trees
Full, classic green trees can carry more tinsel than any other style. Their dense branches give you plenty of surface to work with, and the depth hides any unevenness. Loose draping or spiral garland both work well here. This is the one style where a slightly more generous hand is acceptable.
Slim Trees
Slim and pencil trees have a narrow profile, so tinsel reads more prominently against the tightly packed branches. Use vertical strands to emphasize the height these trees are prized for, and keep the amount modest so you do not bulk out the slender silhouette. If you are decorating for a small space, the guide on slim and pencil Christmas trees for small spaces explains how to make the most of a narrow footprint.
Pencil Trees
The narrowest of all, pencil trees need the lightest touch. A few vertical icicle strands and a single thin garland are usually plenty. Heavy tinsel will overwhelm the slim shape and bury the lights.
Flocked Trees
Flocked trees already have a frosted, snowy texture, so they need very little tinsel. In fact, too much competes with the flocking. A small amount of icicle tinsel or crystal beaded garland enhances the wintry look without fighting it. For everything else about decorating these snowy trees, the guide to flocked Christmas trees covers color palettes and ornament pairings in depth.
Pre-lit Trees
Because the lighting is already built in and evenly distributed, pre-lit trees give tinsel a consistent glow to reflect. This makes them especially flattering for icicle and foil tinsel. You can skip straight to ribbon, ornaments, and tinsel. The full ultimate guide to pre-lit Christmas trees walks through buying, decorating, and maintaining them.
Luxury Trees
High-end trees favor restraint and quality over quantity. Skip loose metallic tinsel entirely and use crystal or pearl beaded garland, or fine color-matched tinsel that reinforces a single sophisticated palette. The sparkle should look deliberate and jewel-like, never thrown on.
Decorating Themes That Work With Tinsel
Tinsel can support almost any theme, but the type and color you choose should follow the theme rather than fight it. A broader look at building a cohesive look is covered in the complete Christmas tree decoration styles and themes guide, but here is how tinsel fits specific styles.
For a glamorous, high-end look, lean on beaded garland and color-matched tinsel in metallics, kept sparse and intentional. The luxury Christmas tree decorating ideas guide shows how restraint creates that elevated feel.
For a rustic, cozy theme, tinsel is used sparingly if at all, since natural textures and warm tones take the lead. A touch of warm gold tinsel can add subtle shimmer without breaking the homespun mood, as explored in the rustic Christmas tree decorations guide.
For a minimalist Nordic look, icicle tinsel and crisp cool-white lighting create a clean, frosted effect that fits the pared-back aesthetic detailed in the Scandinavian Christmas tree style guide.
The principle across all of these is the same: the theme decides the tinsel, not the other way around.
How Lighting Affects Tinsel
Tinsel does not produce light. It reflects it. That means your lighting choices control how the tinsel reads more than the tinsel itself does.
Warm white lights give tinsel a golden, cozy glow that flatters gold, copper, and champagne tones. This is the most popular and forgiving choice.
Cool white lights make silver, crystal, and icicle tinsel sparkle with a crisp, icy brilliance, perfect for winter and Scandinavian themes.
Colored lights bounce off tinsel in playful, multi-hued flecks, ideal for nostalgic and family trees, though they can look busy alongside heavily colored tinsel.
Reflective effects are strongest when lights sit deep in the tree and tinsel hangs slightly in front of them, so the strands catch and scatter the glow.
Layered lighting, where you combine deeper-set warm lights with a few accent strands closer to the surface, gives tinsel the most dimension and depth.
To get the lighting itself right, the comprehensive Christmas tree lights and lighting guide covers placement and bulb types. If you are torn between bulb colors, the comparison of warm white vs cool white lights settles the question for your specific palette. To work out quantity, the breakdown of how many lights you need for a Christmas tree gives clear benchmarks, and you can plug your tree size straight into the Christmas tree light calculator for an instant figure.
The professional benchmark is roughly 100 lights per foot of tree height for a standard look, rising toward 150 to 200 per foot for a luxury glow. Because tinsel multiplies whatever light is there by reflecting it, a well-lit tree needs less tinsel to sparkle than a dimly lit one.
How to Make Tinsel Look Elegant Instead of Overdone
The line between elegant and tacky is almost entirely about technique. Here is how professionals keep tinsel looking refined.
Even spacing is the single biggest factor. Distribute tinsel uniformly across the whole tree rather than concentrating it in clumps. Your eye notices imbalance instantly.
Layering means tucking some tinsel deeper into the branches and letting some sit closer to the surface. This creates depth instead of a flat curtain of shimmer.
Color coordination keeps the tinsel within your existing palette. One or at most two tinsel colors that echo your ornaments look intentional. Three or more compete and read as chaotic.
Less is more cannot be overstated. The most elegant trees use restraint. When in doubt, use half of what you think you need and add gradually.
Viewing from different angles matters because tinsel reflects differently depending on where you stand. Check the tree from across the room, from a seated position, and from the doorway. Adjust until it shimmers from every viewpoint.
Common Tinsel Decorating Mistakes
Most tinsel disasters come down to a handful of repeated errors. Here is what to avoid and how to fix each one.
| Mistake | Why It Hurts the Look | The Fix |
|---|---|---|
| Using too much | Buries ornaments and looks cluttered | Start with two thirds, add gradually |
| Covering ornaments | Hides your focal points | Drape tinsel between, not over, ornaments |
| Uneven placement | Creates distracting clumps and bare spots | Step back and rebalance from a distance |
| Mixing too many colors | Looks chaotic and unplanned | Limit to one or two coordinated colors |
| Decorating before fluffing | Tinsel falls through thin branches | Always fluff fully before any decoration |
| Ignoring lighting | Tinsel looks dull with nothing to reflect | Set lights deep, let tinsel sit in front |
The thread running through all of these is restraint and order. Fluff first, light properly, and add tinsel last in modest amounts. Fix problems by stepping back and viewing the tree as a whole rather than fussing over one branch at a time.
Decorating Tools That Make the Job Easier
A little planning saves a lot of mid-decorating frustration, especially when you are buying supplies. Rather than guessing how many ornaments and how much tinsel a tree needs, you can calculate it in advance. The Christmas tree ornament calculator tells you how many ornaments suit your tree height so you can plan the spacing where tinsel will go. For a complete supply list covering lights, ornaments, ribbon, and garland in one place, the Christmas tree decoration calculator gives you a full breakdown by tree size before you start shopping.
Planning quantities ahead of time is the easiest way to avoid the most common mistake of all, which is buying too much tinsel and feeling obligated to use it.
Recommendation
Professional decorators rarely use large amounts of tinsel. Instead, they focus on thoughtful placement that catches light without overwhelming the ornaments or the shape of the tree. A balanced design with a few well-positioned strands of icicle or beaded tinsel creates a more timeless and elegant Christmas tree than simply piling on more decorations.
If you take one piece of advice from this guide, let it be this: treat tinsel as a finishing accent, not a primary decoration. Build a strong foundation of deep lighting, flowing ribbon, and well-balanced ornaments first. Then add just enough tinsel to make the whole thing shimmer. The trees that draw compliments are almost never the ones with the most tinsel. They are the ones where every element has room to breathe and the sparkle feels effortless.
For most households, foil or icicle tinsel in a single color that matches the lights gives the best result with the least effort. For luxury and elegant trees, beaded garland outperforms loose tinsel every time. And for slim, pencil, and flocked trees, the lightest possible touch is always the right call.
Final Verdict: How Do You Put Tinsel on a Christmas Tree?
Put tinsel on as one of the last steps, in small, even amounts, after the tree is fluffed, lit, and decorated. Here is the process in one concise sequence:
- Fluff the tree fully so branches are open and dense.
- Wrap lights deep in the tree, working inside out.
- Add ribbon or garland for flowing structural lines.
- Hang ornaments, balanced by size and color, leaving gaps.
- Drape tinsel evenly into those gaps, a few strands at a time.
- Choose vertical strands for elegance or loose draping for nostalgia.
- Step back, balance the sparkle, and adjust from multiple angles.
- Crown with the topper and finish with the skirt.
Match your tinsel type and color to your theme and lighting, use less than you think you need, and let the lights do the heavy lifting. That is the entire formula.
Conclusion
Tinsel earns its place on the Christmas tree when it is used with intention. The correct decorating order, fluff, lights, ribbon, ornaments, then tinsel, ensures every layer reflects the one beneath it. Choosing the right type, whether that is loose classic tinsel for a nostalgic family tree or crystal beaded garland for a luxury display, sets the tone before you hang a single strand.
Proper spacing and gentle layering turn a handful of shimmering strands into a cohesive, elegant effect. Coordinating your tinsel with your lighting and palette keeps the look deliberate rather than busy. And avoiding the classic mistakes, above all using too much, is what separates a tree that sparkles from one that looks cluttered.
You now have everything you need to decorate with confidence: the order, the amounts, the techniques, and the styling judgment that professionals rely on. Keep it balanced, keep it light, and let the tree shine.
Frequently Asked Questions
Do you put tinsel on a Christmas tree first or last?
Last. Tinsel is a finishing accent, so it goes on after the lights, ribbon, garland, and ornaments. Adding it last lets it fill the gaps between ornaments and reflect the lights, which is exactly the effect tinsel is meant to create.
How much tinsel do I need for my Christmas tree?
It depends on tree size, but most people use far too much. As a rough guide, a 6 ft tree needs about two bundles of loose tinsel or 25 to 30 ft of tinsel garland, while a 9 ft tree needs around four bundles or 50 to 60 ft. Start with two thirds of that and add only where the tree looks bare.
Should tinsel hang vertically or be wrapped around the tree?
Both work, but they create different looks. Vertical strands hang straight down like icicles for an elegant, refined effect that emphasizes height. Wrapping or spiral draping creates flowing movement and suits fuller traditional trees. Vertical generally looks more upscale.
What is the difference between tinsel and garland?
Tinsel is loose, shimmering strands or thin icicle strips focused on reflecting light. Garland is a continuous rope, often thicker and more structured, used to create sweeping lines around the tree. Tinsel garland is a hybrid that combines both qualities.
Can you put tinsel on a flocked Christmas tree?
Yes, but use very little. Flocked trees already have a frosted, snowy texture, so heavy tinsel competes with it. A small amount of icicle tinsel or crystal beaded garland enhances the wintry look without overwhelming the flocking.
What color tinsel looks best?
Choose a color that coordinates with your lights and ornaments rather than one that competes. Silver and crystal tinsel sparkle under cool white lights, while gold, copper, and champagne tinsel glow under warm white lights. Stick to one or two coordinated colors for an elegant result.
Why does my tinsel look messy?
Usually because there is too much of it, it is unevenly distributed, or it was added before fluffing the branches. Remove some, redistribute the rest evenly, and check the balance by stepping back across the room. A lighter, even hand fixes most messiness.
Is tinsel out of style?
Loose throw-by-the-handful tinsel has fallen out of fashion, but tasteful tinsel is very much still used. Icicle tinsel, foil tinsel, and beaded garland appear regularly on modern, Scandinavian, and luxury trees. The trick is restraint and placement, not avoiding tinsel altogether.
Do you need tinsel if you already have lots of ornaments and lights?
No. Tinsel is optional. If your tree already looks full and balanced with lights, ribbon, and ornaments, you can skip tinsel entirely. Only add it if you want extra sparkle or need to fill noticeable gaps between decorations.
How do I keep tinsel from tangling?
Store loose tinsel in a sealed bag or wrap garland around a piece of cardboard so it does not knot. When decorating, work with small sections at a time rather than pulling from a tangled clump. Foil and beaded tinsel tangle far less than classic loose strands.
Should tinsel go on before or after the tree topper?
Tinsel goes on before the tree topper. The topper is one of the final touches, added after tinsel so it crowns the finished design without interfering with the upper strands of tinsel.
Is icicle tinsel better than classic tinsel?
For a refined, modern look, yes. Icicle tinsel hangs in straight, even strands that create an elegant cascading effect and tangles less. Classic loose tinsel delivers a more nostalgic, retro feel but requires a lighter hand to avoid looking cluttered. Choose based on the style you want.